
Getting started in Redshred
New to Redshred? This guide walks you through everything you need to know to turn your documents, videos, and inputs into deployment-ready workflows — fast.
This is a div block with a Webflow interaction that will be triggered when the heading is in the view.
Welcome to Redshred — where complex technical documentation becomes clear, actionable intelligence. We're glad you're here, and we can't wait to show you what's possible.
Step 1: Sign in
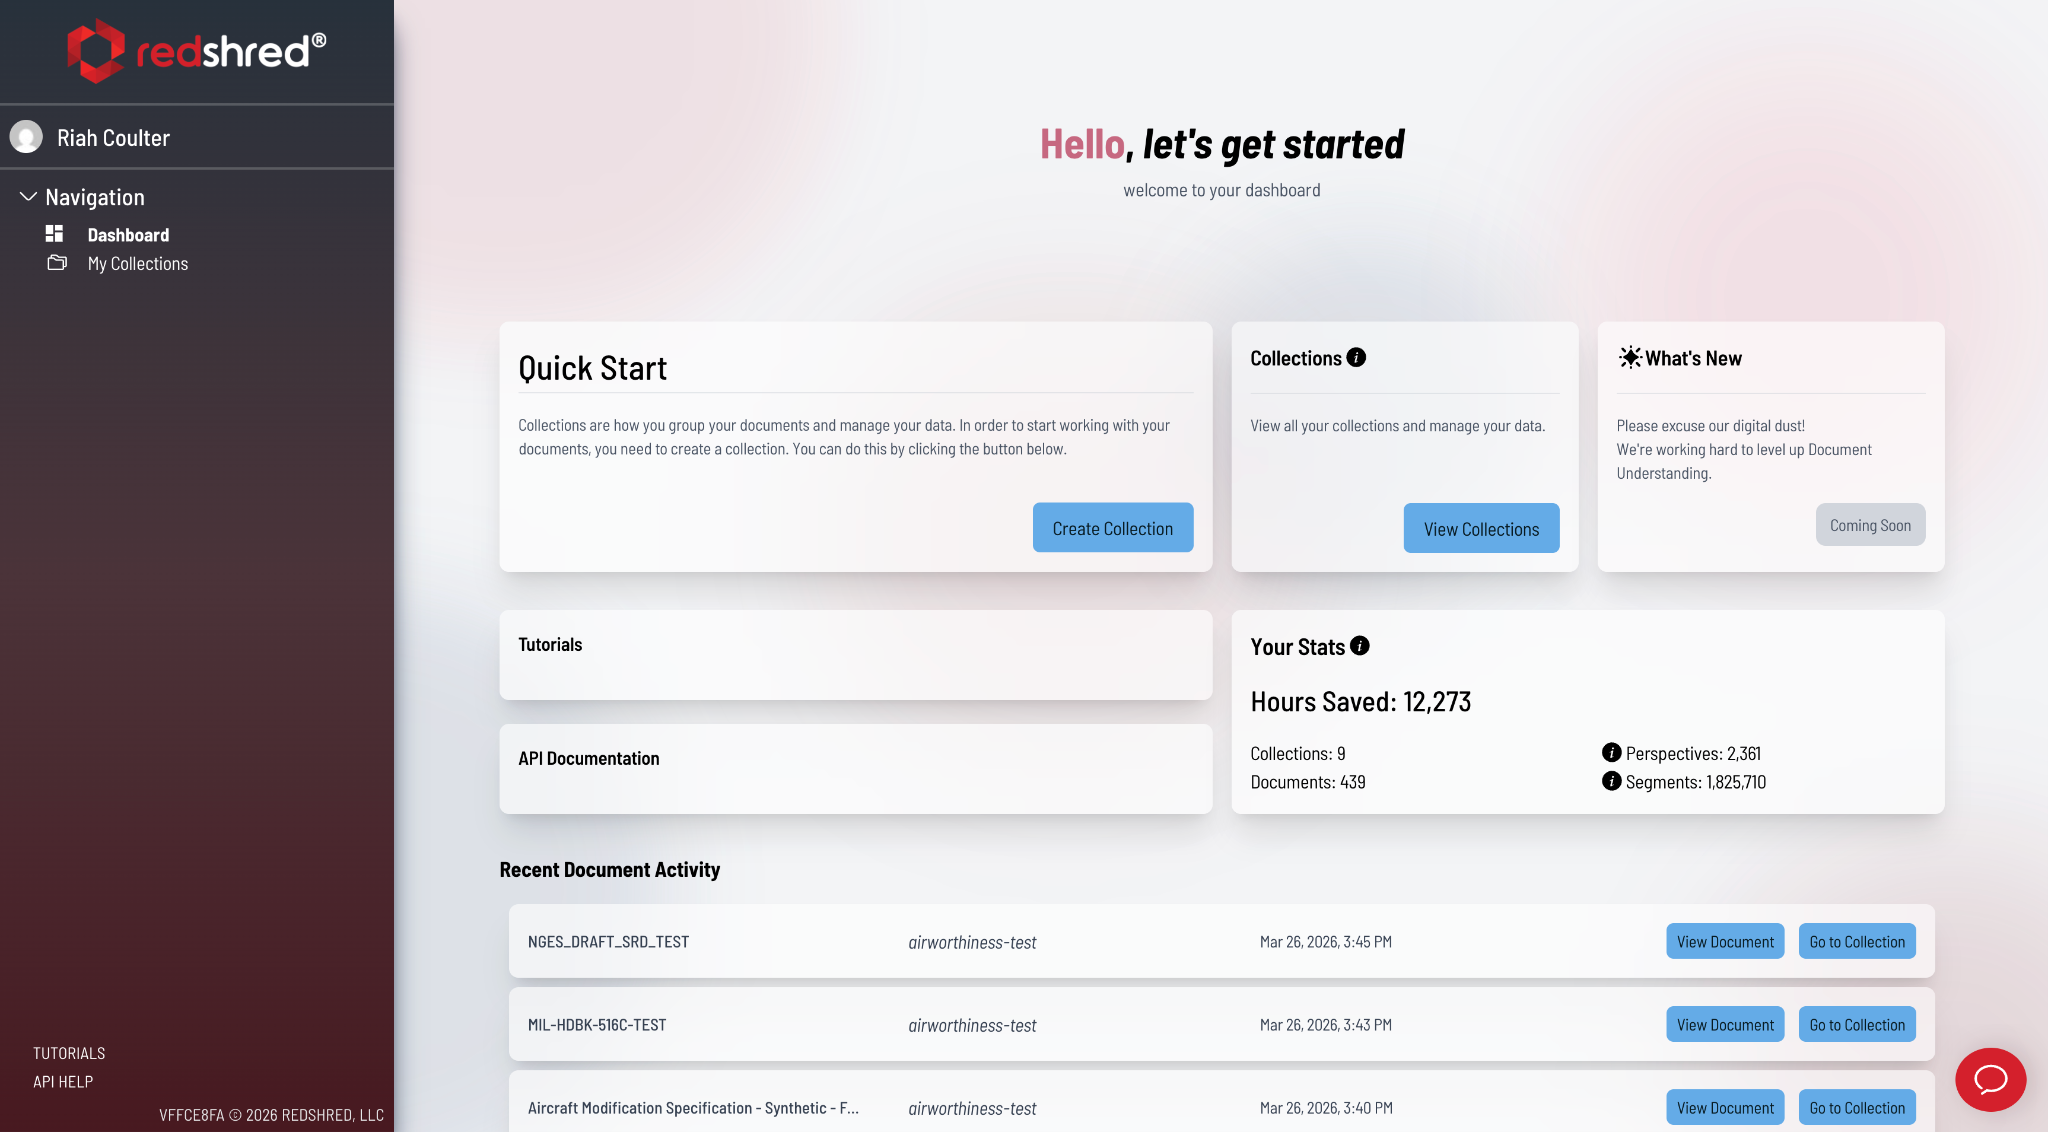
Use your provided credentials to sign into api.redshred.com. Once logged in, you'll land on your Dashboard — your home base for revisiting recent documents, monitoring usage statistics, accessing tutorials and documentation, and taking quick actions.
Step 2: Create a Collection
From the Dashboard, click 'Create Collection'. Collections are how Redshred helps you group related documents for consistent, scalable processing. The real power here: once you've configured a Collection with your desired Perspectives (metadata layers), any document you add going forward will automatically have those same layers extracted with no extra setup required.
When creating a Collection, you'll be prompted to enter a name. Redshred will automatically generate a collection slug — a unique identifier derived from the name. You can customize the slug if needed, but most users keep it identical to the collection name for clarity down the road.
Step 3: Explore Your Collection
After creation, you'll be taken to your Collection Details page. This is the hub for everything associated with that Collection, including uploaded documents, extracted data, your Collection configuration, user access, exportable assets, usage statistics, and more.
Step 4: Open a Document
Click on any document in your Collection to open it in the Document Viewer — the heart of the Redshred experience. The viewer is organized into three panels:
- Left-Hand Sidebar — Navigate your Collection, toggle active Perspectives on and off, and add new metadata layers to your document.
- Center Document Well — Your primary viewing space. This is where Redshred's documents-as-a-database technology is on full display. Extracted intelligence is overlaid directly on the source document, giving you full digital thread traceability so you always know exactly where your data came from.
- Right-Hand Sidebar — Dive deeper into your extracted content. Subpanels surface metadata at the Segment, Perspective, Page, and Document levels. You'll also find advanced search tools here, including support for the Redshred Query Language for powerful spatial searches across your document. (Redshred Query Language Guide — coming soon!)
Step 5: Add a New Perspective
Ready to add a new layer of intelligence to your document? Click 'New Perspective' and follow the provided instructions to:
- Name your new Perspective
- Select from a library of tested templates
- Run iterative live tests until the output looks exactly right
- Save the Perspective to your document and Collection configuration
- Once saved, your new Perspective will automatically apply to future documents added to the Collection — that's Redshred working at scale.
Step 6: Navigate Your Collections
When you're ready to step back, navigate to 'My Collections' via the navigation section of the Right-Hand Sidebar. Here you'll see all your available Collections, search across them, and spin up new Collections as your work grows.
Your documents don't stand a chance. Happy Redshredding!